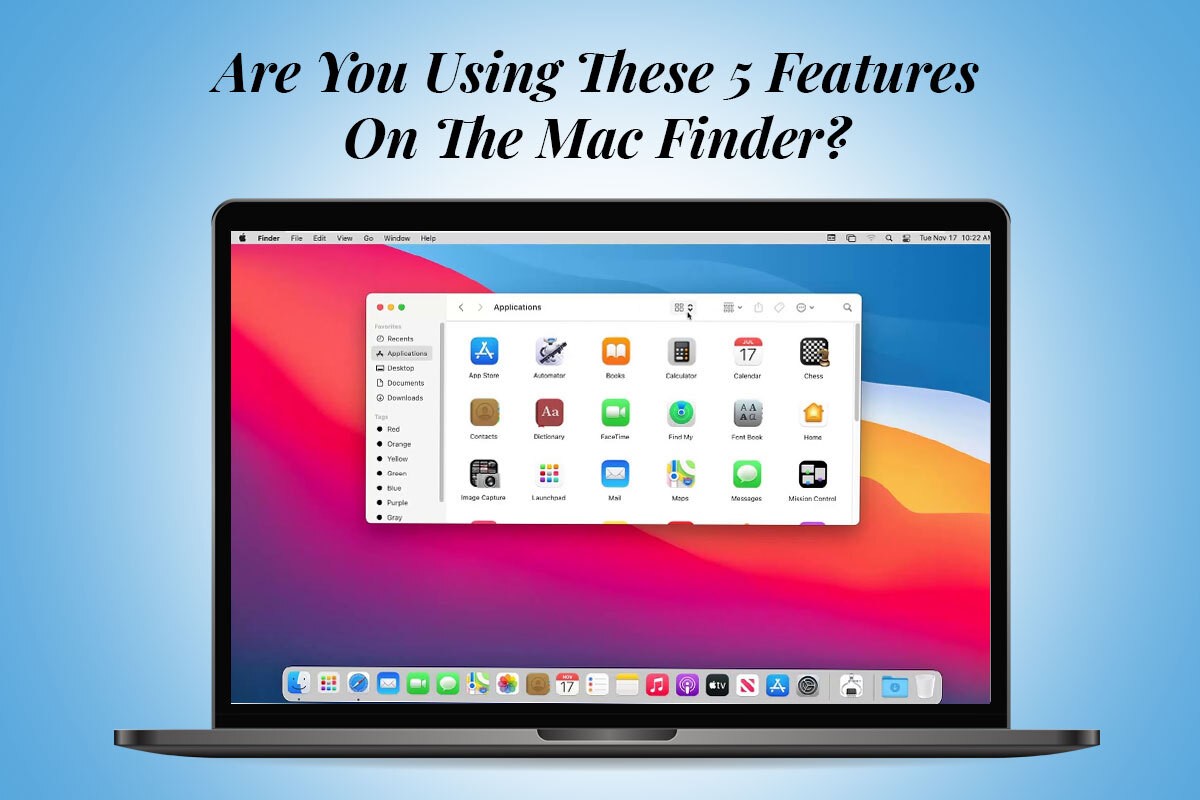
The Mac Finder is a powerful tool that helps users navigate and manage files on their Mac computers. While many people are familiar with the basic functions of the Finder, several advanced features can greatly enhance your productivity and make file management a breeze. In this article, we will look at five key features of the Mac Finder that you might not be using but should definitely take advantage of.
Have you ever wanted to take a quick look at a file without actually opening it? The Quick Look feature in the Mac Finder allows you to do just that. Picking a file and pressing the space bar allows you to instantly preview its contents without launching any additional applications. This feature is particularly useful for previewing images, documents, and even videos, saving you time and effort.
Keeping your files organized is essential for efficient workflow, and the Tags feature in the Mac Finder can help you achieve just that. Tags allow you to assign customizable labels to your files, making it easy to group and locate them later. Simply right-click on a file, select “Tags,” and choose or create a tag that suits your needs. You can even apply multiple tags to a single file, enabling you to create a flexible and personalized organizational system. If you ever encounter any issues with the Finder, such as tags not functioning correctly or the Finder becoming unresponsive, you might consider relaunching it to resolve the problem. To know how to relaunch Finder, you can follow these steps:
By relaunching Finder, you can often resolve any temporary glitches or errors and restore the smooth functioning of the Tags feature. Remember to save any unsaved work before relaunching Finder, as it will close any open Finder windows and applications associated with it.
Are you tired of manually sorting files into different folders? The Smart Folders feature in the Mac Finder can save you valuable time by automating the process. Smart Folders are virtual folders that automatically gather files based on specific search criteria. For instance, you can create a Smart Folder that automatically collects all files modified within the last week or all files with a certain file extension. This feature ensures that your files are always organized and up to date without requiring manual intervention.
Do you find it difficult to work on multiple documents simultaneously? The Split View feature in the Mac Finder makes multitasking a breeze. By simply dragging a window to the edge of the screen, you can split your workspace and have two applications open side by side. This is particularly useful when referencing information from one document while working on another. Split View enhances your productivity by allowing you to seamlessly switch between tasks without constantly resizing windows or switching tabs.
Performing common tasks such as rotating images, creating PDFs, or sharing files can be time-consuming if you’re not aware of the Quick Actions feature in the Mac Finder. With Quick Actions, you can access a range of handy shortcuts right from the Finder toolbar. Select a file and click the Quick Actions button to reveal a menu of available actions. This feature eliminates the need to open additional applications or navigate through complex menus, enabling you to complete tasks quickly and efficiently.
The Mac Finder offers a wealth of features beyond its basic file management capabilities. You can streamline your workflow, improve your organization, and boost your productivity by taking advantage of features such as Quick Look, Tags, Smart Folders, Split View, and Quick Actions. Remember to apply the tips and tricks mentioned for each feature to maximize their effectiveness. So, explore these features on your Mac to make the most of your file management experience.
Swiss International University (SIU) is on track to be one of the world's most respected… Read More
In a session that left students buzzing with fresh ideas and practical insights, Invertis University… Read More
At the 21st Shanghai International Automobile Industry Exhibition, which is surging with the wave of… Read More
Liverpool, UK—House of Spells and Comic Con Liverpool are once again collaborating to bring the… Read More
Introduction In India's booming EdTech space, there's one name that's making waves among Telugu students… Read More
In litigation, often, the difference between winning and losing comes down to strategy. Although facts… Read More